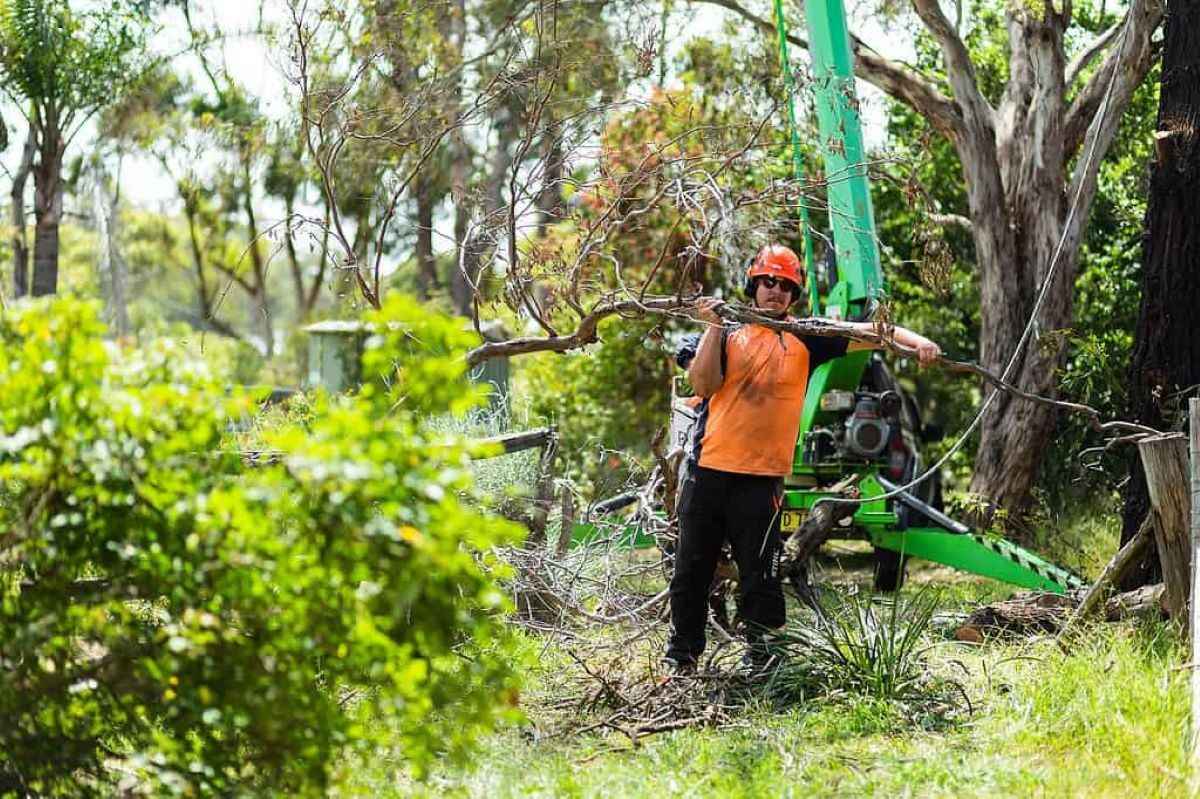
Because Sydney trees face heat, storms, pests, construction pressure, and tight urban spaces, a good assessment is methodical. They observe the whole site, then narrow down to the trunk, crown, and ro...
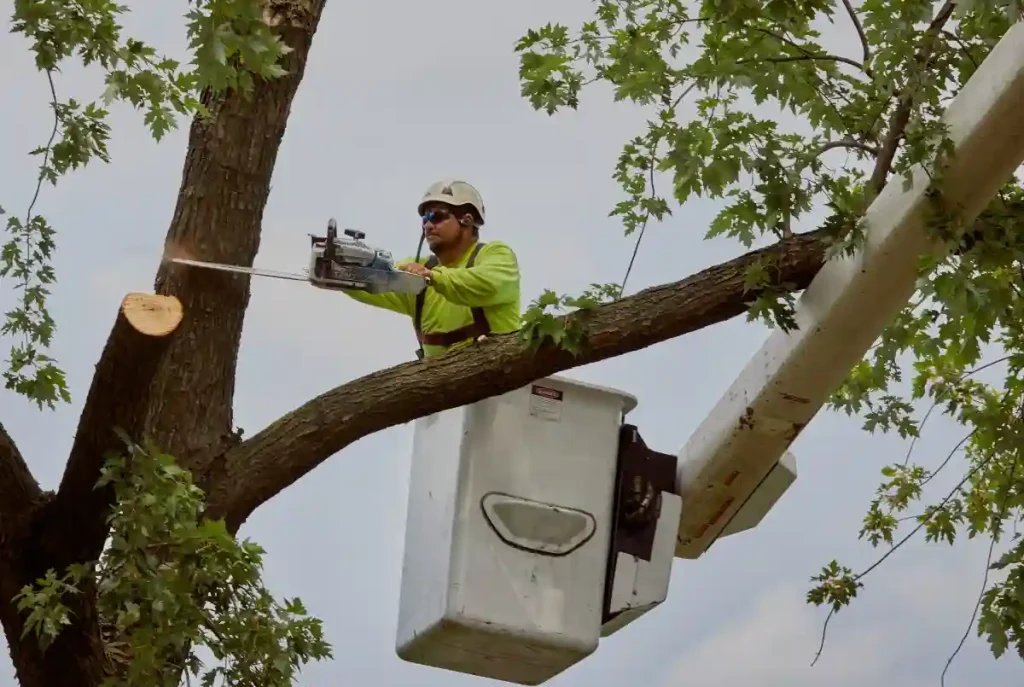
This guide shows how they can compare quotes, check credentials, and choose a service that protects their property, their neighbours, and the tree where possible. What does “tree lopping” usually incl...

They are not for everyone, though. If someone hands out hundreds of cards a week with low conversion value, premium cards can be wasteful. The smartest use is when the card is part of a deliberate, hi...

The real question is not whether metal is “better”. It is whether the card reinforces the brand’s positioning at the exact moment a prospect decides if they are credible. Do metal business cards insta...
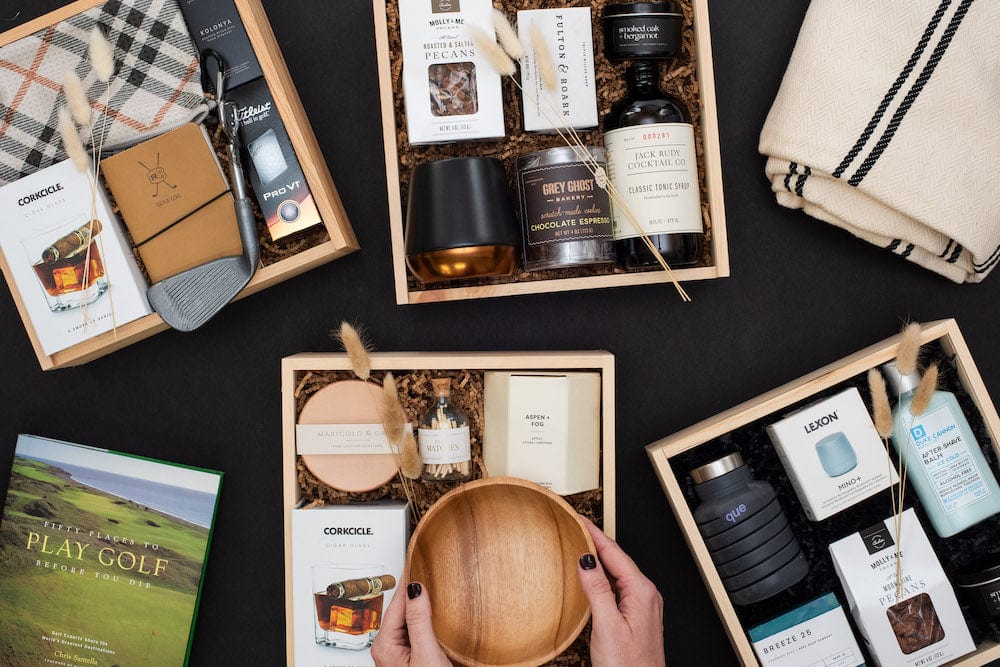
This guide rounds up ten genuinely different hamper styles, plus what makes each one feel personal. What makes a Mother’s Day hamper feel genuinely “unique”? A unique hamper is not just “chocolate and...
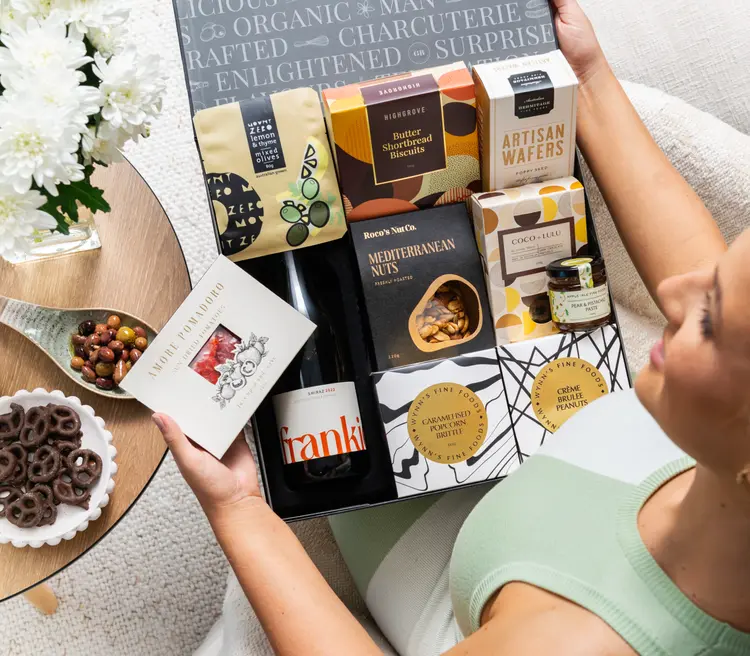
The best Easter hamper is the one that matches the recipient’s tastes, survives the journey, arrives on time, and feels genuinely thoughtful. The sections below make that choice easier by breaking dow...

Castlecrag homes often blend bushland views, warm timber, and sculptural architecture. Elegant flowers should echo that mood, not fight it, so the goal is calm, considered arrangements that feel like ...
Busy professionals in St Leonards often need flowers that arrive on time, look premium, and require minimal back and forth. The right local delivery setup makes it easy to send something thoughtful wi...

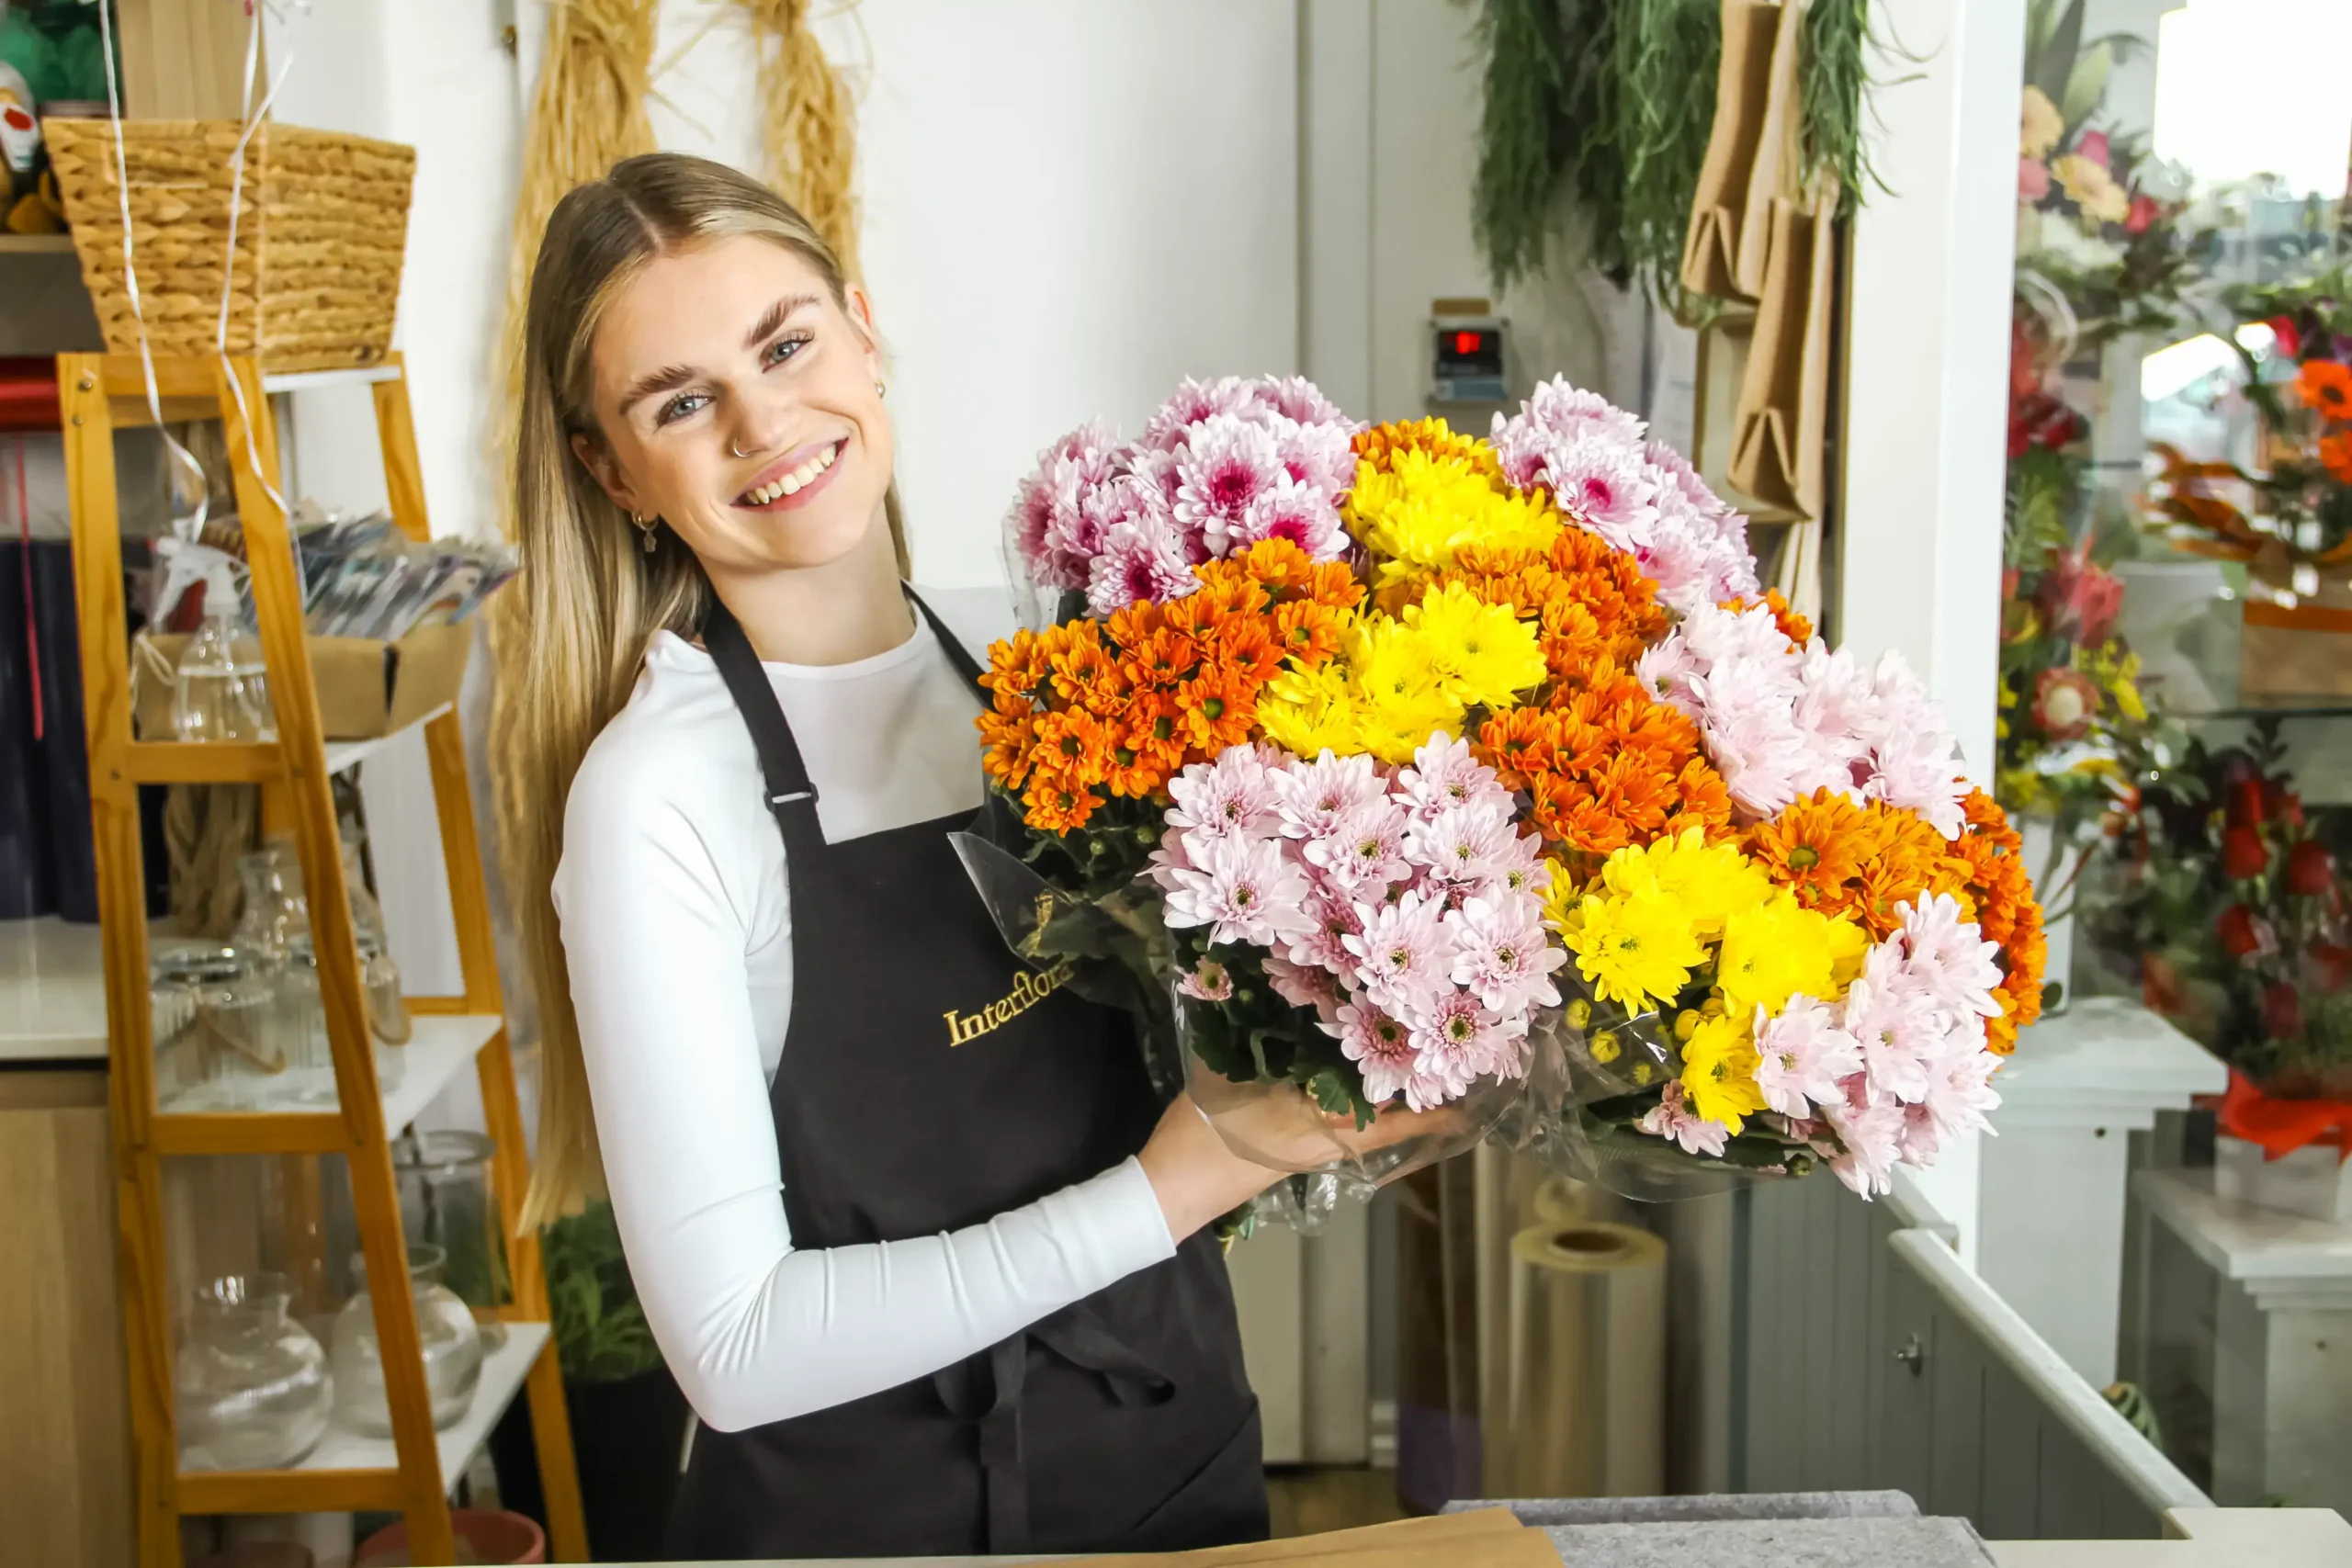
Fresh Flowers, Delivered with Care and Precision Life moves quickly, and special moments often arrive without warning. A birthday reminder pops up in the morning. A colleague celebrates a promotion. A...
Fresh Flowers That Make Every Moment Special Flowers bring color, emotion, and life into every occasion. Whether you are celebrating a birthday, planning a romantic surprise, organizing a corporate ev...